


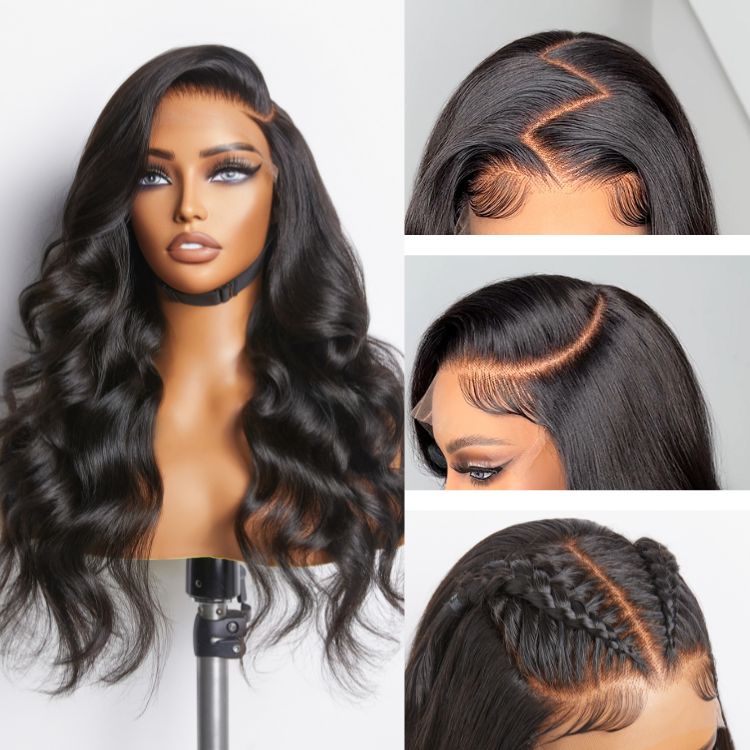

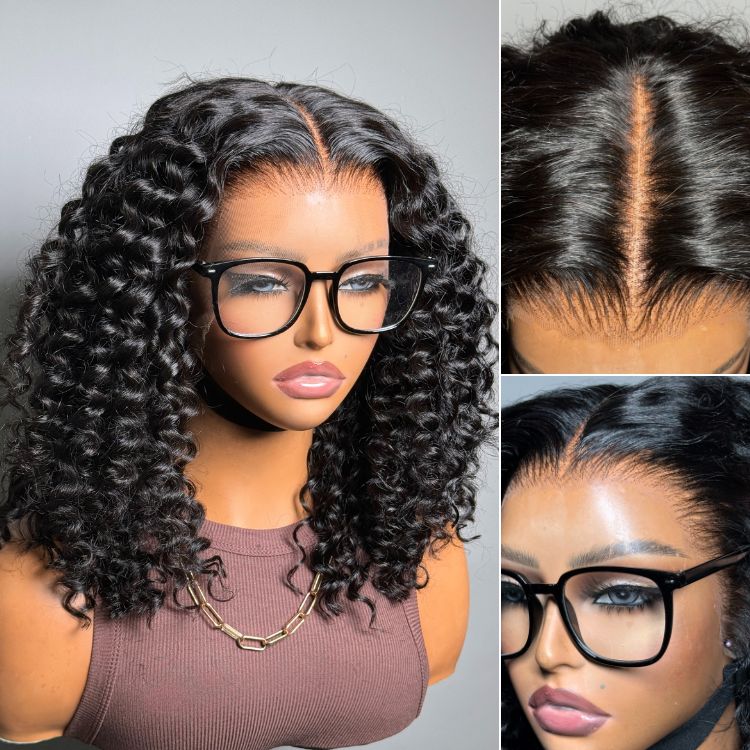


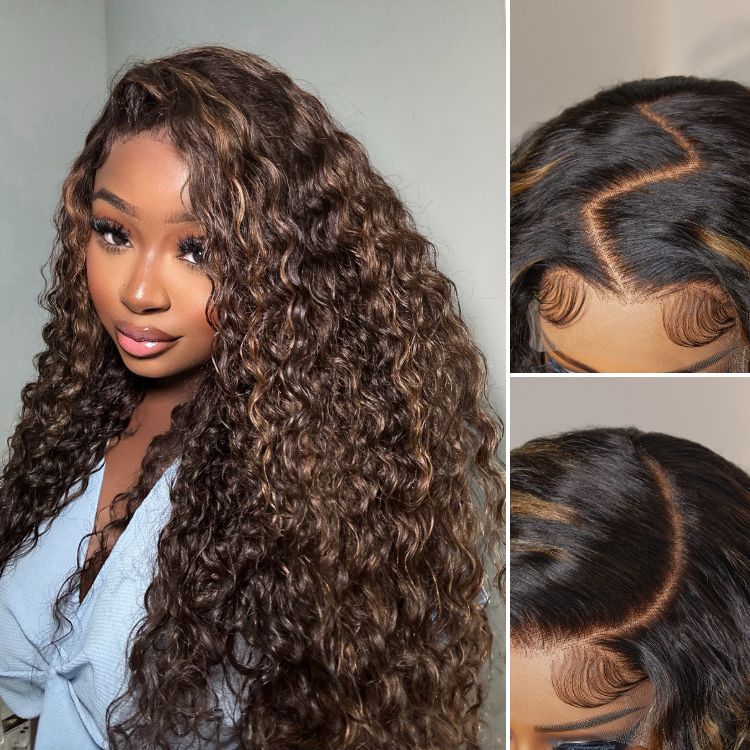


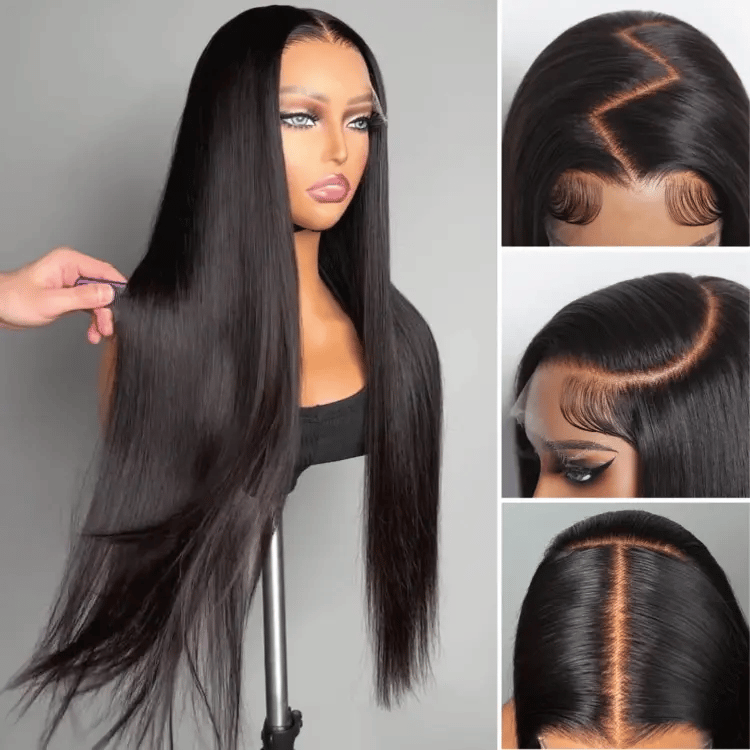


How to put a lace front wig on
Most people love lace front wigs because of their stylish nature. “How to put lace front wig on?” is an unavoidable problem for wig lovers.
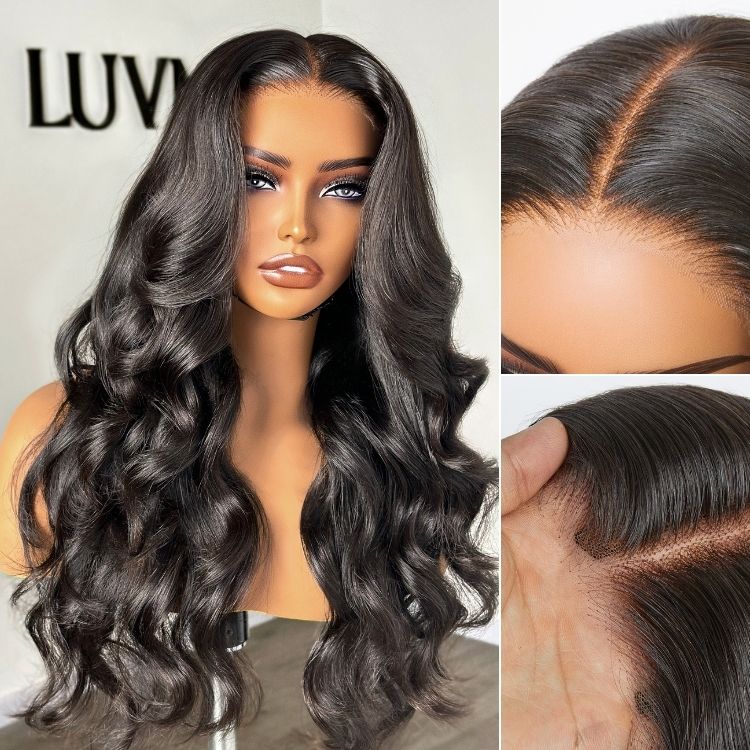
If you are a beginner, you probably have spent hours on YouTube trying to learn the best ways to put on a lace front wig. Unfortunately, the available videos are only created for views and tend to leave out important details. This article will cover three detailed ways to apply lace front wigs, giving you preference.
PREPARATION BEFORE WEARING
- Tools: real lace front wig, wig cap, scissors, wig glue, tape, hair clip, low wattage hair dryer, alcohol, cotton swab, small brush.
- If you want to protect your natural hair, you need to wear a net cap.
The first step of “putting a lace front wig on” is to prepare your natural hair. Tie up your original hair and make your hair as smooth and flat as possible to avoid bumps once your wig is on. Make sure that your hair, whether short or long, is pulled back from your hairline.
- If you have short hair, cornrow or mold it against your head using styling gel (Got2b gel for example) or spray, then braid it towards the back using bobby pins.
- For long hair, tie it into a long ponytail and then wrap the ponytail into a flat bun and secure it with bobby pins. You can also divide it into multiple sections, braid each section, and make twists at the ends to take care of loose edges. Then pull the braids towards the back and secure them with bobby pins.
- When your hair is well flattened, put a stocking cap on. A stocking cap is a soft cap that softens your hair and helps the wig to stay in place. Be careful not to disturb your flattened hair and pull on the cap gently. Adjust it to make sure it does not cover the hairline. Tuck your edges into the cap as possible as you can.
Now, your hair is properly prepped and your cap is on. The next step is “installation”. Let’s choose the installation method that fits you the best.
HOW TO INSTALL A LACE FRONT WIG USING GRIP
Wig grips are flexible headbands that stick into your hair and cover your head to hold the wig in place.

To make it look more natural, choose a grip that matches your skin color. For installation, use a grip by following the steps below:
- Put your wig grip on and adjust the size of your grip. Secure it with Velcro strap if necessary.
-
Put your wig on and cover the wig grip. Make sure you match the edge of the lace front wig with the hairline.

- Adjust the back of the wig to make sure it hangs over your hair.
- Press the lace of your wig into the wig grip and make sure it holds it tight. Not too tight to make you uncomfortable. The wig should be perfectly aligned before pressing, otherwise it will be misplaced.
- Cut the excess lace of your wig and restyle it as you wish.
HOW TO INSTALL A LACE FRONT WIG USING GLUE
You can use a liquid lace adhesive to install your lace front wig if you are not comfortable using a wig grip. After putting on a wig cap, follow the steps below:
- Dip a cotton swab in alcohol, rub your hairline and clean it. The alcohol removes any makeup, gel, or cream. Wait a few minutes for it to dry.
- Use a makeup brush to apply the adhesive along your entire hairline. Wait a few minutes for the glue to become tacky.
- Put you lace front wig on and adjust it until it fits to your liking. The edge of the wig should align with the hairline and the back hang naturally over your hair.
- Once the wig is in place, press the lace into the adhesive. Make sure the wig is perfectly aligned before pressing.
- Trim the excess lace in your hairline and around the ears. From here you can style the wig any way you like.
HOW TO INSTALL A LACE FRONT WIG BY SEWING
Some ladies don’t like the feeling of adhesives, so sewing is a better way to go. However, the sewing process takes more time and it’s hard to sew it on by yourself. Therefore you might need a hairstylist to help you finish the work.
If you prefer to do it by yourself, you’ll need a C-shaped needle and a cotton thread that matches the color of your wig. Follow the steps below:
- Mostly, cornrows run from the front to the back of the head. But for a more protective style, part your hair down in the middle and braid from the center down to the sides of your head toward the ears.
- Make a frontal (a hairpiece that runs from your hairline through the top of your head from ear to ear).
- Place the wig in your head, aligning it with your hairline. Adjust it to your liking.
- Put the braids closest to your ears' tops and divide the front hair into two sections, securing them with clips. Then, make a distinct part that runs from one ear to the other, passing over the top of your hair.
- Begin sewing the frontal edge through the wig cap and your tracks with your threaded C-shaped needle. Continue along the line you just made over your head until you reach your other ear. It will be secure with a few stitches per braid.
- Next, create a portion that runs from your ear to your hairline by parting one of the front sections about 12 inches above your ear. Sew all the way down that section and stop just before your hairline to hide the thread.
- Sew the lace front into one of the braids. It would keep the lace from slipping back and making your wig insecure. Use a thread that matches the color of your hair.
- Trim the excess lace in your hairline and around the ears. From here you can style the wig any way you like.
Reference video #1
Reference video #2Browse HERE for more trendy and stylish frontal lace wigs!


